Connector manufacturer
Connector manufacturer
How Many Tips Do You Know About De-Pinning and Re-Pinning Connectors
Electrical connectors are critical components in automotive, aerospace, industrial, and consumer electronics, enabling reliable power and data transmission. De-pinning and re-pinning connectors—removing and reinserting terminals within a connector housing—are essential skills for repairing, modifying, or upgrading wiring systems. Whether you’re an automotive technician fixing a damaged harness, an electronics hobbyist customizing a project, or an engineer troubleshooting a system, mastering these processes ensures functionality and safety. However, improper de-pinning or re-pinning can damage connectors, compromise connections, or lead to system failures. This article provides a comprehensive guide to de-pinning and re-pinning connectors, offering practical tips, step-by-step instructions, and best practices. From choosing the right tools to avoiding common mistakes, we cover techniques applicable to various connector types, including automotive multi-pin connectors, Deutsch connectors, and consumer electronics connectors. By following these tips, professionals and enthusiasts can achieve reliable, high-quality results in their wiring projects.
Tips for De-Pinning and Re-Pinning Connectors
Electrical connectors are the backbone of wiring systems across industries, from automotive harnesses to aerospace avionics and consumer electronics. De-pinning and re-pinning—removing and replacing terminals within a connector housing—are essential for repairing damaged wires, upgrading systems, or troubleshooting electrical issues. These processes require precision, the right tools, and a thorough understanding of connector designs to avoid damage and ensure reliable connections. Whether you’re a technician repairing a car’s wiring harness, an engineer modifying an industrial system, or a hobbyist customizing a project, mastering de-pinning and re-pinning is a valuable skill. This article provides practical tips and step-by-step guidance to de-pin and re-pin connectors effectively, covering tools, techniques, and best practices for various connector types. By following these tips, you can achieve professional results while minimizing risks to your wiring systems.
Understanding Connectors and Terminals
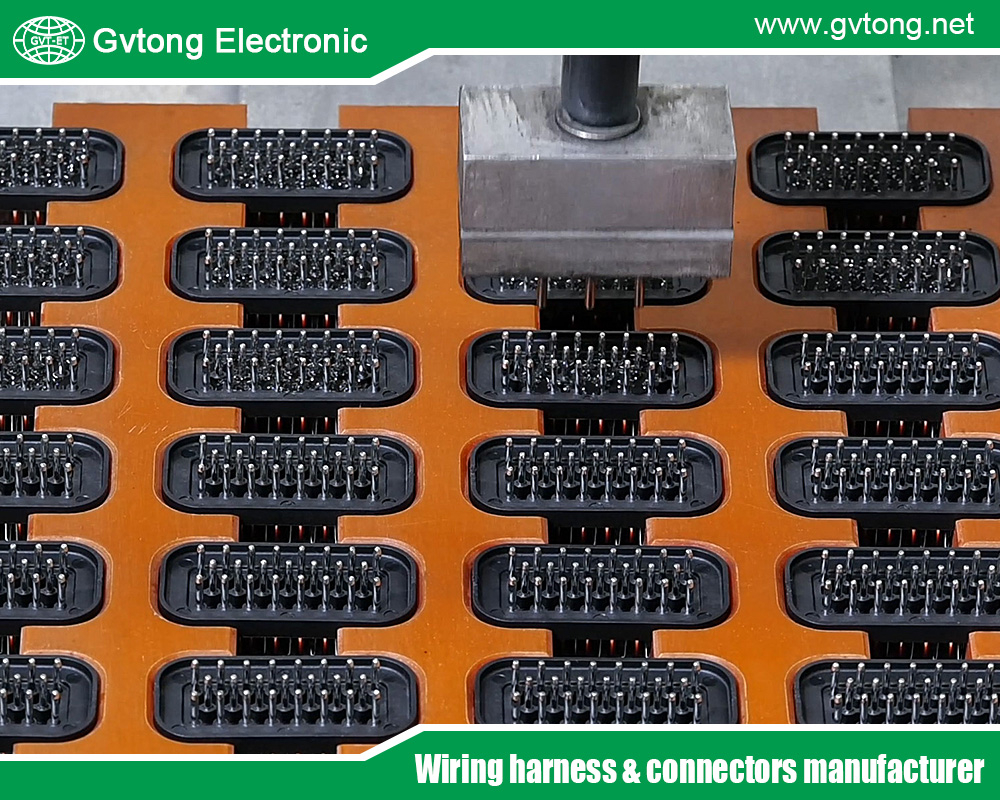
Connectors consist of a housing (plastic or metal), terminals (pins or sockets), and locking mechanisms to secure terminals. Common types include multi-pin automotive connectors (e.g., Molex Mini-Fit), Deutsch connectors for rugged applications, and USB-style connectors in electronics. De-pinning is necessary to replace damaged terminals, rewire circuits, or modify pin assignments, while re-pinning restores functionality with new terminals. Understanding the connector’s locking mechanism—such as plastic tabs, metal clips, or secondary locks—is critical to avoid damage during de-pinning.
Tools and Materials Needed
Successful de-pinning and re-pinning require specialized tools:
- Terminal Release Tools: Precision tools to unlock terminals (e.g., micro screwdrivers or manufacturer-specific tools like Deutsch removal tools).
- Crimping Tools: High-quality crimpers for secure terminal attachment (e.g., ratcheting crimpers).
- Wire Strippers: For clean, precise wire preparation.
- Multimeter: To test continuity and verify connections.
- Materials: Replacement terminals, appropriately gauged wires, heat shrink tubing, and dielectric grease for corrosion protection.
Using compatible, high-quality tools and materials ensures reliable connections and prevents damage to delicate components.
Step-by-Step Guide to De-Pinning Connectors
- Preparation: Disconnect power to avoid electrical hazards. Inspect the connector for damage or corrosion and identify the locking mechanism.
- Select the Right Tool: Use a terminal release tool specific to the connector type (e.g., a flathead for Molex or a pick for Deutsch).
- Release the Terminal: Insert the tool into the connector’s release slot to depress the locking tab or clip, gently pulling the wire to remove the terminal.
- Inspect and Organize: Check the terminal for damage and label wires to maintain correct pin assignments.
- Avoid Damage: Never force a terminal out, as this can bend pins or break the housing. If resistance is felt, recheck the lock release.
For multi-pin connectors, work systematically to avoid confusion, and use a magnifying glass for small or intricate connectors.
Step-by-Step Guide to Re-Pinning Connectors
- Prepare the Wire: Strip the wire end (typically 3–5 mm) and select a terminal compatible with the connector housing and wire gauge.
- Crimp or Solder: Crimp the terminal using a ratcheting crimper for a secure connection, or solder for specific applications, ensuring no loose strands.
- Insert the Terminal: Align the terminal with the housing slot, pushing until it clicks into place. Verify the lock engages by gently tugging the wire.
- Seal and Protect: Apply heat shrink tubing or dielectric grease for environmental protection, especially in automotive or outdoor applications.
- Test the Connection: Use a multimeter to check continuity and ensure the terminal is secure.
For complex connectors, refer to pinout diagrams to ensure correct placement.
Best Practices and Tips for Success
- Label Wires: Mark wires and terminals with tape or markers to track pin assignments.
- Work in a Clean Space: Prevent dust or debris from entering the connector.
- Use Proper Crimping Techniques: Ensure crimps are tight and meet manufacturer specifications.
- Test Before Final Assembly: Verify connections with a multimeter to avoid rework.
- Consult Manufacturer Guides: Check datasheets for specific connector requirements, especially for locking mechanisms or terminal types.
Common Mistakes to Avoid
- Using improper tools, such as screwdrivers that damage terminals or housings.
- Forcing terminals during de-pinning, which can break locking mechanisms.
- Poor crimping, leading to loose connections and intermittent failures.
- Neglecting seals or protective measures in harsh environments, risking corrosion.
Applications in Specific Industries
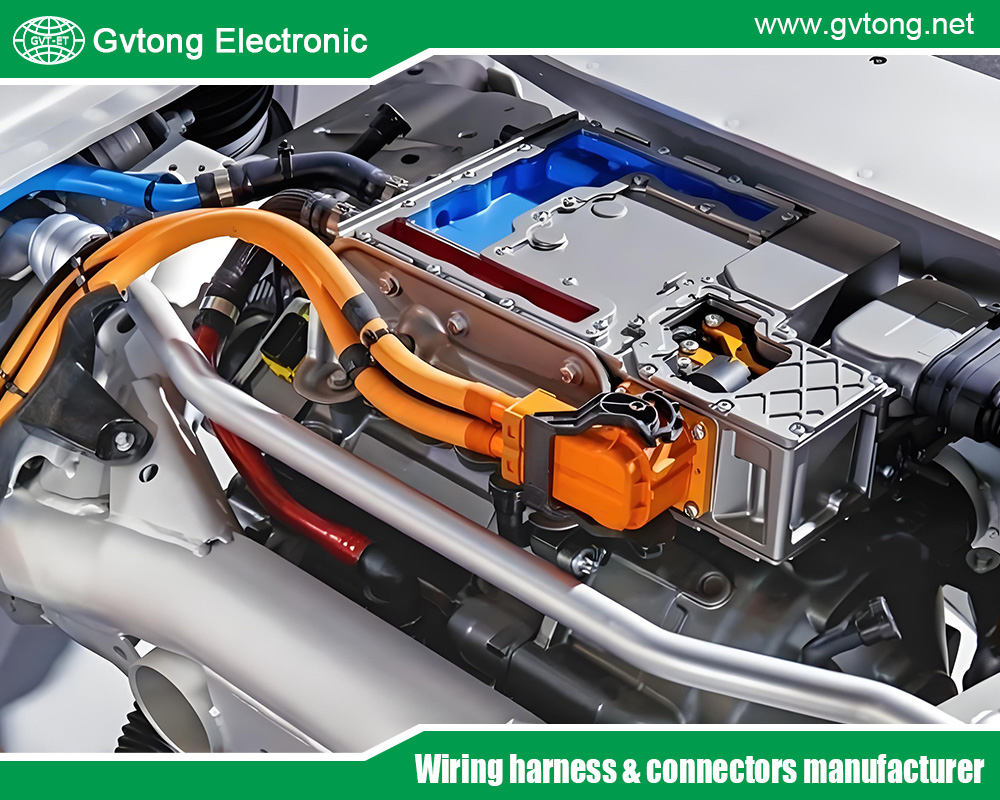
- Automotive: De-pinning and re-pinning connectors are common for repairing wiring harnesses in electric vehicles (EVs) or upgrading aftermarket systems.
- Aerospace: High-reliability connectors require precise de-pinning for maintenance in avionics systems.
- Consumer Electronics: Re-pinning is used to repair or modify USB, HDMI, or other device connectors.
- Industrial: Upgrading machinery wiring often involves re-pinning to accommodate new sensors or controls.
Conclusion
De-pinning and re-pinning connectors are essential skills for maintaining and upgrading electrical systems across industries. By using the right tools, following step-by-step techniques, and adhering to best practices, you can achieve reliable, professional results. Avoiding common mistakes and testing connections ensures safety and performance. Whether you’re troubleshooting an automotive harness or customizing an electronics project, these tips empower you to handle connectors with confidence. Consult manufacturer specifications and practice regularly to refine your skills, ensuring your wiring systems remain robust and efficient.
For more about how many tips do you know about de-pinning and re-pinning connectors, you can pay a visit to Gvtong at https://www.gvtong.net/ for more info.
-

GE Series-34/40-core double-row signal connector
-

DCDC wall-through terminal-double-headed thread
-

GH-Photovoltaic Connector-Plug
-

Rectangular connector-32 core
-

GE Series-35-core three-row signal connector
-
")
Combined power connector (2+1+5)
-

GE Series-33-core Signal Connector
-

GR Series-19-core 16# circular signal connector