Connector manufacturer
Connector manufacturer
How to Detect Faults with Electric Connectors for Cars
Electric connectors are the unsung heroes of a car’s electrical system, ensuring seamless communication between components like sensors, lights, and the engine control unit (ECU). These small but critical components link wires and circuits, enabling everything from starting the engine to powering the infotainment system. However, when electric connectors fail, they can cause a cascade of issues—flickering lights, dead sensors, or even a car that won’t start. Detecting faults early can save time, money, and frustration. This article provides a comprehensive guide to identifying and addressing faults in automotive electric connectors. Whether you’re a DIY enthusiast or a professional mechanic, you’ll learn the tools, techniques, and preventive measures to keep your car’s electrical system in top shape.
Understanding Electric Connectors in Cars
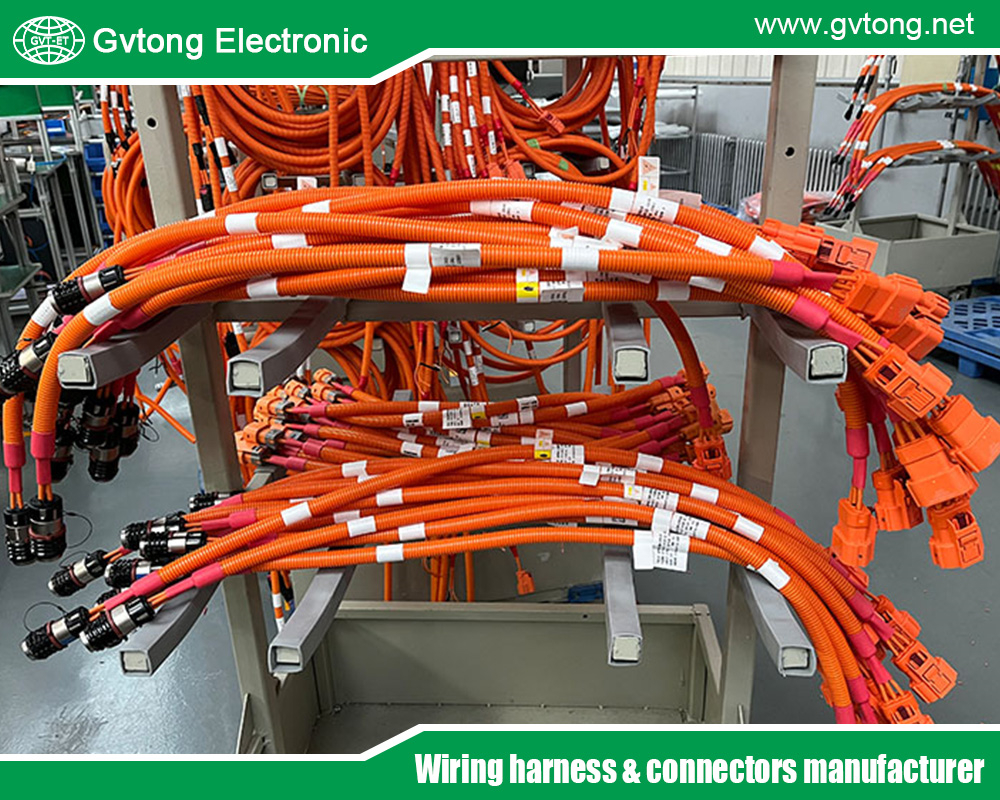
Electric connectors are devices that join electrical circuits, allowing current and signals to flow between components. In modern vehicles, they are found everywhere—under the hood, in the dashboard, and even in the doors. Connectors come in various types, including multi-pin connectors (used for complex systems like the ECU), blade connectors (common in older vehicles), and weatherproof connectors (designed for exposed areas like wheel wells). Each connector consists of male and female terminals, often housed in plastic casings with locking mechanisms to ensure a secure connection.
Connectors are critical because they handle the flow of electricity that powers essential systems. For example, a faulty connector in the fuel injection system can cause misfires, while a damaged connector in the lighting system can lead to dim or non-functional lights. Understanding the types and locations of connectors in your vehicle is the first step to diagnosing faults effectively.
Common Faults in Electric Connectors
Electric connectors are prone to several types of faults, each with distinct causes and effects:
- Corrosion: Exposure to moisture, road salt, or chemicals can corrode metal terminals, increasing resistance and disrupting current flow. Corrosion often appears as green or white deposits on pins.
- Loose or Poor Connections: Vibration from driving can loosen connectors, leading to intermittent or complete loss of contact.
- Damaged Pins or Terminals: Bent, broken, or pushed-back pins can prevent proper mating, causing open circuits.
- Wiring Issues: Frayed or damaged wires connected to the terminal can mimic connector faults, leading to misdiagnosis.
- Environmental Damage: Heat, water, and dirt can degrade connector housings, allowing contaminants to enter and disrupt connections.
- These faults are often exacerbated by environmental factors like extreme temperatures, humidity, or poor installation practices. Identifying the specific fault is key to effective repairs.
Symptoms of Faulty Electric Connectors
Faulty connectors manifest in various ways, depending on the affected system. Common symptoms include:
- Electrical Malfunctions: Flickering headlights, non-functional power windows, or erratic sensor readings.
- Intermittent Issues: Problems that come and go, such as a radio cutting out or a dashboard warning light flickering.
- Complete System Failures: A dead fuel pump, non-responsive ignition, or inoperative climate control.
- Dashboard Warning Lights: Faulty connectors can trigger check engine lights, ABS warnings, or other alerts due to disrupted signals.
- These symptoms often point to connector issues rather than component failures, especially if multiple systems are affected. For instance, if both headlights and tail lights are malfunctioning, a shared connector may be the culprit.
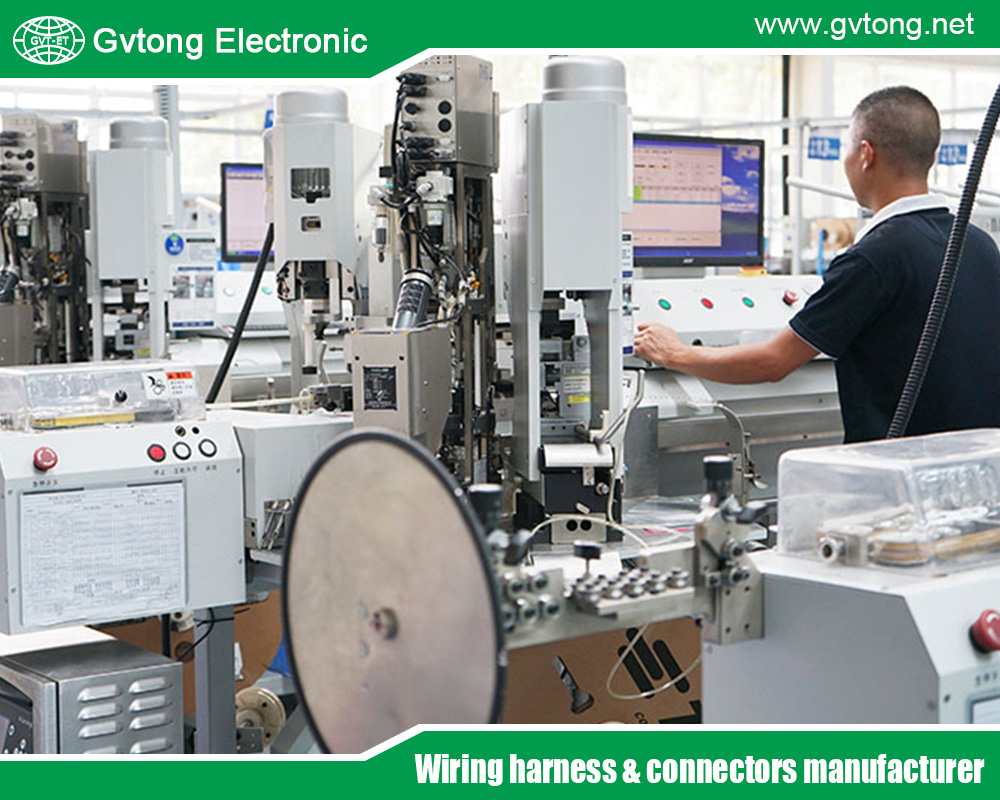
Tools and Equipment Needed for Detection
Diagnosing connector faults requires a few essential tools:
- Multimeter: Measures voltage, resistance, and continuity to test connector performance.
- Test Light: A simple tool to check for power and ground in a circuit.
- Connector Cleaning Tools: Small brushes, contact cleaner, or compressed air to remove corrosion and debris.
- Visual Inspection Tools: A flashlight and magnifying glass to spot physical damage or corrosion.
- Diagnostic Scan Tool: For modern vehicles, an OBD-II scanner can pinpoint electrical faults tied to connectors.
- Optional tools like a crimping tool or heat shrink tubing may be needed for repairs. Always ensure tools are rated for automotive use to avoid damage or inaccurate readings.
Step-by-Step Guide to Detecting Faults
Here’s a detailed process to identify and address connector faults:
Step 1: Safety Precautions
- Disconnect the car’s battery to prevent electrical shock or short circuits.
- Work in a well-ventilated area and wear gloves to avoid contact with corrosive substances.
- Refer to the vehicle’s service manual for connector locations and specifications.
Step 2: Visual Inspection
- Locate the suspect connector using the vehicle’s wiring diagram or service manual.
- Check for visible signs of damage: corrosion, cracked housings, bent pins, or loose connections.
- Inspect nearby wiring for fraying or burns, which may indicate a related issue.
Step 3: Testing Continuity with a Multimeter
- Set the multimeter to continuity mode (or resistance, typically ohms).
- Disconnect the connector and probe the male and female terminals to ensure a continuous circuit.
- A lack of continuity or high resistance suggests a broken or corroded terminal.
Step 4: Checking for Corrosion and Cleaning
- If corrosion is present, apply contact cleaner and use a small brush to scrub terminals gently.
- Dry thoroughly and inspect for remaining damage. Replace severely corroded connectors.
Step 5: Testing Voltage and Ground Connections
- Reconnect the battery and set the multimeter to voltage mode.
- Test for proper voltage at the connector’s input and output terminals, comparing readings to the vehicle’s specifications.
- Check for a solid ground connection by testing between the ground terminal and the car’s chassis.
Step 6: Using Diagnostic Tools for Deeper Issues
- Connect an OBD-II scanner to check for error codes related to electrical faults.
- Cross-reference codes with the service manual to identify affected connectors or circuits.
- Use a wiring diagram to trace faults to specific connectors.
Step 7: Verifying Repairs
- After cleaning or replacing a connector, test the affected system (e.g., turn on lights or start the engine).
- Recheck with a multimeter to ensure proper voltage and continuity.
- Clear any diagnostic codes and monitor for recurring issues.
- This methodical approach ensures accurate diagnosis and effective repairs.
Common Challenges and Troubleshooting Tips
Detecting connector faults can be tricky due to their small size and complex locations. Common challenges include:
- Hard-to-Reach Connectors: Use flexible tools or mirrors to access connectors in tight spaces, such as under the dashboard or in the engine bay.
- Intermittent Faults: These are tough to diagnose because they may not appear during testing. Wiggle the connector while testing with a multimeter to replicate the issue.
- Misdiagnosis: A faulty sensor or wiring can mimic a connector issue. Always test related components to rule out other causes.
- If a fault persists after cleaning or tightening, consider replacing the connector or consulting a professional.
Preventive Maintenance for Electric Connectors
Preventing connector faults is easier than fixing them. Adopt these practices:
- Regular Inspections: Check connectors during routine maintenance, especially in high-risk areas like the engine bay or undercarriage.
- Use Dielectric Grease: Apply a thin layer to terminals to repel moisture and prevent corrosion.
- Protect from Environmental Damage: Ensure weatherproof connectors are properly sealed and avoid exposing non-sealed connectors to water or heat.
- Proper Handling: When disconnecting connectors, use the locking mechanism to avoid damaging pins or terminals.
- These steps extend the life of connectors and reduce the likelihood of faults.
When to Seek Professional Help
While many connector issues can be resolved with basic tools and knowledge, some situations require professional expertise:
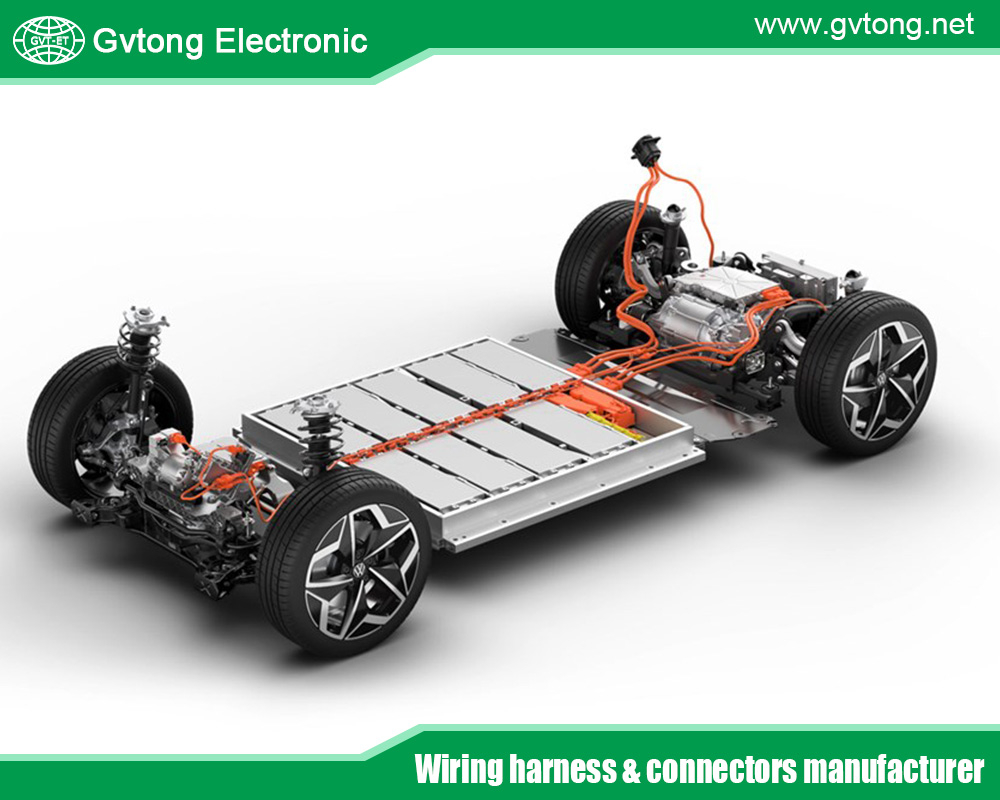
- Complex Electrical Systems: Modern vehicles with advanced electronics (e.g., hybrid or electric cars) may need specialized diagnostic equipment.
- Lack of Tools or Expertise: If you’re unsure about using a multimeter or accessing connectors, a mechanic can save time and prevent damage.
- Warranty Considerations: Tampering with connectors on a new vehicle may void warranties. Check with your dealer before attempting repairs.
- A qualified automotive electrician can diagnose and repair complex issues efficiently.
Conclusion
Detecting faults with electric connectors in cars is a critical skill for maintaining vehicle reliability. By understanding connector types, recognizing symptoms, and using the right tools, you can diagnose and fix issues like corrosion, loose connections, or damaged pins. Regular maintenance, such as applying dielectric grease and inspecting connectors, can prevent faults before they start. For complex problems or when in doubt, don’t hesitate to consult a professional. Proactive care ensures your car’s electrical systems run smoothly, keeping you on the road with confidence.
For more about how to detect faults with electric connectors for cars, you can pay a visit to Gvtong at https://www.gvtong.net/ for more info.
-

Connector plug+socket-GH630 series-3P
-

GE Series-24-core cylinder connector
-

Photovoltaic Connector-Line End Socket
-

GE Series-35-core three-row signal connector
-

H630 Series-3-core plastic high voltage connector
-

GB Series-Energy Storage Connector-5.7mm
-
")
Signal connector – waterproof, three rows, 35 cores
-

Automotive 3-Core Plastic Via Connector, 3-Pin Automotive DC Connectors, Automotive Plugs Cnd Connectors