Connector manufacturer
Connector manufacturer
How to Repair Automotive Electrical Connectors
Automotive electrical connectors are critical components that ensure reliable communication and power delivery in a vehicle’s electrical system. From powering headlights to connecting sensors in the engine, these connectors keep modern vehicles running smoothly. However, exposure to harsh conditions like moisture, heat, and vibration can cause connectors to corrode, loosen, or fail, leading to issues like flickering lights, engine misfires, or complete system failures. Repairing these connectors can save time and money compared to replacing entire wiring harnesses, but it requires careful attention to detail and the right tools.
This article provides a comprehensive guide to repairing automotive electrical connectors, covering everything from diagnosing issues to completing reliable repairs. Whether you’re a DIY enthusiast or a professional technician, following these steps will help you restore functionality, avoid common pitfalls, and ensure your vehicle’s electrical system remains dependable. Let’s dive into the process of diagnosing and fixing automotive connectors effectively.
Understanding Automotive Electrical Connectors
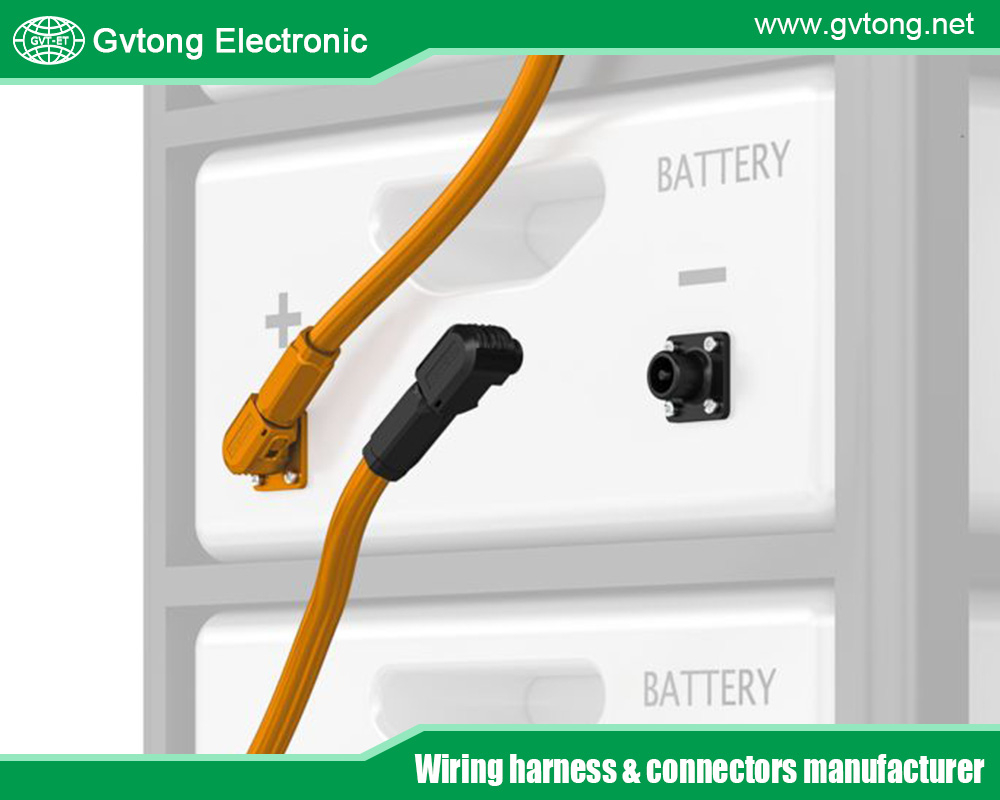
Automotive electrical connectors are specialized components that join wires or circuits, enabling the transfer of power or data. They consist of male and female terminals, often housed in plastic or metal casings, with locking mechanisms to ensure secure connections. Common types include multi-pin connectors (e.g., for wiring harnesses), weatherproof connectors (e.g., Deutsch DT series), blade connectors, and circular connectors used in sensors or lighting systems.
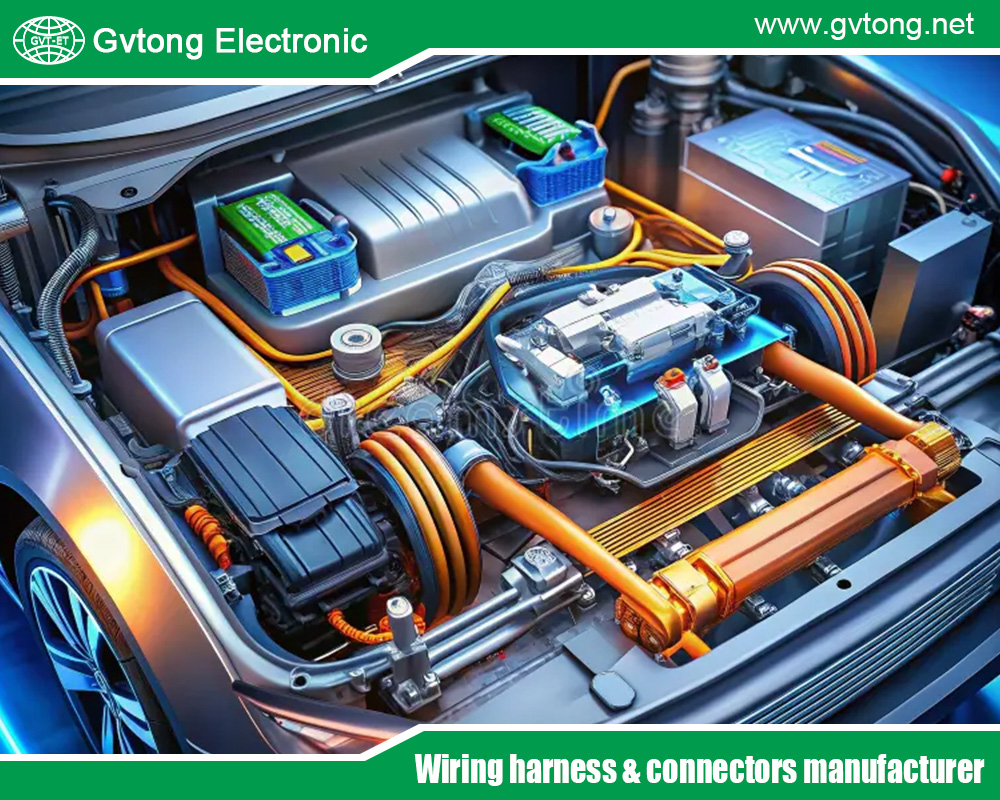
These connectors are found throughout a vehicle, linking components like the battery, alternator, fuel injectors, and infotainment systems. They are designed to withstand automotive environments, with features like waterproof seals or vibration resistance. However, wear and tear from heat, moisture, or physical stress can degrade their performance, necessitating repairs to restore functionality and prevent system failures.
Common Issues with Automotive Electrical Connectors
Automotive connectors face a range of issues that can disrupt vehicle performance. The most common problems include:
- Corrosion: Moisture or road salt can corrode metal terminals, leading to poor conductivity or signal loss.
- Loose Connections: Vibration or improper installation can cause terminals to loosen, resulting in intermittent electrical issues.
- Broken or Bent Pins: Physical damage from mishandling or wear can break or deform pins, preventing proper mating.
- Worn-Out Seals: Degraded seals allow water or debris to enter, exacerbating corrosion or short circuits.
Symptoms of faulty connectors include flickering lights, erratic sensor readings, engine misfires, or complete power loss to a system. These issues often stem from environmental exposure, poor maintenance, or using low-quality connectors. Identifying the specific problem is the first step to effective repairs.
Tools and Materials Needed for Repairs
Repairing automotive electrical connectors requires specialized tools and materials to ensure a reliable fix. Here’s what you’ll need:
Tools:
- Multimeter: To test continuity, voltage, and diagnose electrical issues.
- Crimping Tool: For securing new terminals to wires (use a ratcheting crimper for precision).
- Wire Strippers: To remove insulation without damaging the wire.
- Terminal Release Tool: To remove pins from connector housings without damage.
- Soldering Iron and Solder: For creating strong, permanent connections (if applicable).
- Heat Gun: To apply heat shrink tubing for insulation.
- Small Screwdrivers or Picks: For prying open connectors or removing debris.
Materials:
- Replacement Terminals/Pins: Match the originals in size and type.
- Heat Shrink Tubing: To insulate and protect repaired wires.
- Dielectric Grease: To prevent corrosion and improve connectivity.
- Electrical Tape: For additional insulation in non-critical areas.
- Replacement Connectors: For cases where the housing is damaged.
Investing in high-quality tools and materials ensures durable repairs and prevents further damage to the vehicle’s electrical system.
Step-by-Step Guide to Repairing Automotive Electrical Connectors
Follow these steps to diagnose and repair automotive electrical connectors effectively:
Step 1: Diagnose the Issue
- Identify symptoms (e.g., no power to a component, intermittent signals).
- Use a multimeter to test for continuity, voltage, or resistance across the connector.
- Visually inspect the connector for corrosion, bent pins, or damaged seals.
Step 2: Disconnect the Battery and Ensure Safety
- Disconnect the vehicle’s battery (negative terminal first) to prevent electrical shock or short circuits.
- Work in a well-lit, dry area and wear insulated gloves if handling live circuits.
Step 3: Inspect and Clean the Connector
- Unplug the connector and inspect for corrosion, dirt, or damage.
- Clean corroded terminals with a wire brush or contact cleaner. Avoid abrasive materials that could damage plating.
- If seals are intact, apply dielectric grease to prevent future corrosion.
Step 4: Replace Damaged Pins or Terminals
- Use a terminal release tool to remove damaged pins from the connector housing.
- Strip the wire end (about 5mm) and crimp a new terminal using a ratcheting crimper for a secure connection.
- Insert the new terminal into the housing, ensuring it locks in place.
Step 5: Repair or Replace Wiring
- If the wire is frayed or damaged, cut out the affected section and strip the ends.
- Splice in a new wire of the same gauge using a crimp connector or solder, followed by heat shrink tubing for insulation.
- Ensure all connections are secure and insulated to prevent short circuits.
Step 6: Test the Repair
- Reconnect the battery and test the system with a multimeter or by powering on the affected component.
- Check for proper operation (e.g., lights turn on, sensor readings are stable).
- Wiggle the connector to ensure it remains secure under movement.
Step 7: Secure and Protect the Connector
- Apply dielectric grease to the connector to protect against moisture.
- Use heat shrink tubing or electrical tape to insulate exposed areas.
- Secure the connector and wiring with zip ties or clips to prevent strain or vibration damage.
By following these steps, you can restore a connector to full functionality while ensuring long-term reliability.
Common Mistakes to Avoid
Repairing automotive connectors requires precision, and common mistakes can compromise the repair:
- Using Improper Tools: A cheap crimping tool or incorrect terminal release tool can damage wires or connectors, leading to poor connections.
- Ignoring Waterproofing: Failing to apply dielectric grease or replace damaged seals can allow moisture to re-enter, causing future failures.
- Skipping Testing: Not testing the repair with a multimeter or functional check can leave issues undetected, leading to system failures.
- Overloading Circuits: Using a connector or wire with insufficient current capacity can cause overheating or failure.
To avoid these pitfalls, use the right tools, follow manufacturer specifications, and double-check your work at every step.
Tips for Preventing Future Connector Issues
Preventive maintenance can extend the life of automotive electrical connectors:
- Regular Inspections: Check connectors during routine maintenance for signs of corrosion or wear.
- Use Quality Connectors: Invest in weatherproof, high-quality connectors (e.g., Deutsch or AMP) for replacements.
- Apply Dielectric Grease: Regularly apply grease to connectors in exposed areas to prevent corrosion.
- Secure Wiring: Use clips or looms to prevent wires from rubbing or vibrating loose.
- Avoid Overloading: Ensure the connector and wiring are rated for the circuit’s current and voltage.
These practices reduce the likelihood of future repairs and improve vehicle reliability.
When to Replace Instead of Repair
In some cases, repairing a connector may not be feasible or cost-effective:
- Severe Damage: If the connector housing is cracked, melted, or heavily corroded, replacement is often better.
- Multiple Failed Pins: Replacing several pins may be more time-consuming than installing a new connector.
- Obsolete Connectors: Older vehicles may use discontinued connectors, making replacement with modern equivalents more practical.
When replacing, source connectors from reputable suppliers like DigiKey, Mouser, or automotive parts retailers. Ensure the new connector matches the original’s specifications (pin count, current rating, and environmental resistance).
Conclusion
Repairing automotive electrical connectors is a valuable skill that can save time, money, and frustration while keeping your vehicle’s systems running smoothly. By carefully diagnosing issues, using the right tools, and following a systematic repair process, you can restore connectors to full functionality. Avoiding common mistakes, such as using improper tools or neglecting waterproofing, ensures long-lasting repairs. Regular maintenance and preventive measures further reduce the need for future fixes. Whether you’re tackling a flickering headlight or a faulty sensor, prioritize safety, precision, and quality to achieve reliable results. With the right approach, you’ll keep your vehicle’s electrical system in top shape for years to come.
For more about how to repair automotive electrical connectors, you can pay a visit to Gvtong at https://www.gvtong.net/ for more info.
-

GE Series-12-core cylinder connector
-

Automotive FAKRA Dual Connector For Wireless Antenna, GPS, Satellite Broadcasting, RF Bluetooth, IVI Information
-

GR Series-19-core 16# circular signal connector
-

GH Series-HV6-2-core Plastic High Voltage Connector
-

High voltage connector-GH630 series-4P
-

Photovoltaic connector – Wire end socket
-

GH Series-DCDC Through-the-Wall Terminal
-

GH800 Series-3-core plastic high voltage connector