Connector manufacturer
Connector manufacturer
The Common Power Distribution Connector Troubleshooting Guide
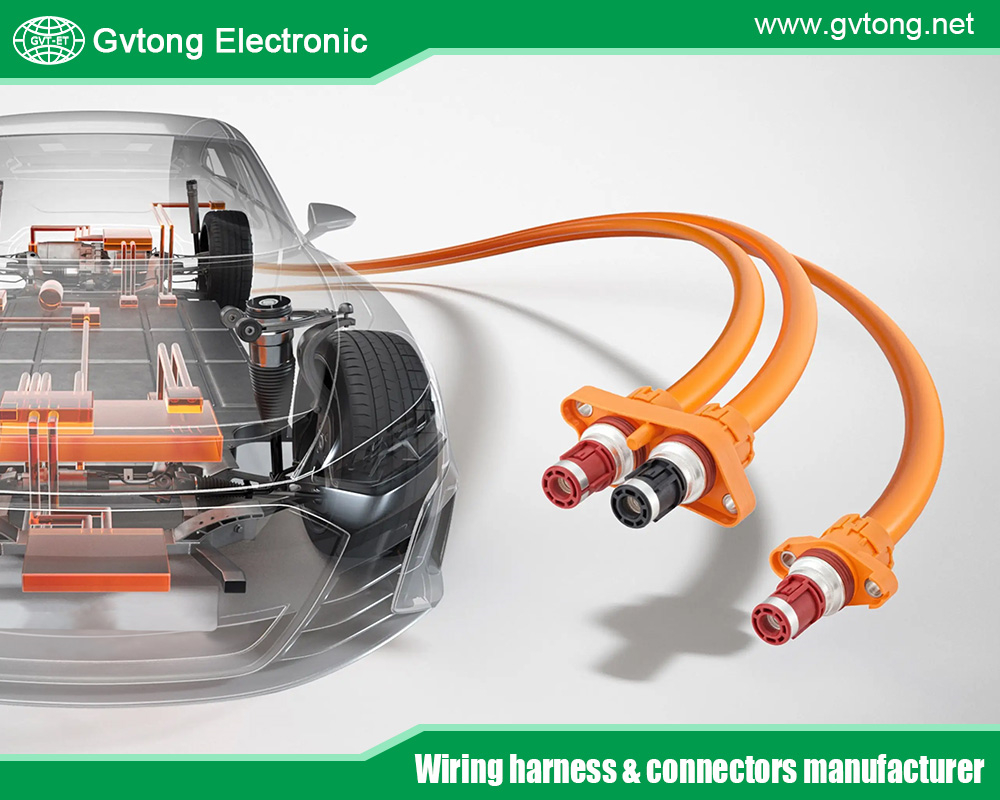
Power distribution connectors are the unsung heroes of electrical systems, silently ensuring the reliable transfer of energy in everything from industrial machinery and data centers to renewable energy installations and transportation systems. Despite their critical role, connectors are frequently overlooked until a failure occurs, resulting in costly downtime, safety hazards, or system damage. These components face relentless stresses—thermal cycling, electrical load fluctuations, mechanical vibration, and environmental contamination—all of which can degrade performance over time.
This guide provides a systematic approach to diagnosing and resolving common issues with power distribution connectors, including busbar connectors, heavy-duty plugs and sockets, terminal blocks, and lug connections. By understanding failure modes and implementing methodical troubleshooting, technicians and engineers can enhance system reliability, safety, and operational lifespan.
Understanding Connector Failure Modes
Effective troubleshooting begins with recognizing how power distribution connectors fail. Most issues fall into four interrelated categories.
1.1 Thermal Issues (Overheating)
Symptoms: Discoloration (bluing or blackening of metals, charring of insulation), heat detectable by touch or IR camera, odor of burnt insulation, increased contact resistance.
Root Causes:
-
Loose Connections: The primary cause. Loose bolts or clamps reduce contact surface area, creating a high-resistance point that generates excess heat (I²R losses).
-
Undersized Connectors: Using a connector rated for lower current than the actual load.
-
Corroded or Contaminated Contact Surfaces: Oxide layers (e.g., aluminum oxide) are highly resistive.
-
Improper Torque: Both under- and over-torquing can compromise contact integrity.
1.2 Electrical Issues
Symptoms: Intermittent power, voltage drops under load, arcing sounds, unexplained circuit breaker trips, ground faults.
Root Causes:
-
High Contact Resistance: As above, leads to voltage drop and heating.
-
Dielectric Breakdown: Insulation failure due to aging, thermal stress, or moisture ingress, leading to short circuits or leakage currents.
-
Fretting Corrosion: Micromovement between mated contacts wears away protective plating, exposing base metal to oxidation.
-
Partial Discharge: In medium/high-voltage connectors, small internal arcs erode insulation, eventually leading to failure.
1.3 Mechanical Issues
Symptoms: Physical looseness, broken housings or latches, cracked insulation, misaligned mated pairs, stripped threads.
Root Causes:
-
Vibration & Shock: Loosens fasteners, fatigues materials, and causes fretting.
-
Mechanical Stress: From improper cable strain relief, bending forces, or mishandling.
-
Cyclic Thermal Expansion/Contraction: Stresses joints and fasteners over time.
-
Improper Installation: Cross-threading, incorrect assembly order, or use of incompatible tools.
1.4 Environmental & Chemical Issues
Symptoms: Corrosion (white/green powder on copper, white crust on aluminum), insulator tracking, moisture inside housings, swollen or degraded seals.
Root Causes:
-
Moisture Ingress: The enemy of electrical systems. Leads to corrosion and insulation failure.
-
Chemical Exposure: Oils, solvents, acids, or salts accelerate corrosion and degrade polymer housings and seals.
-
UV Radiation & Ozone: Degrades outdoor insulator materials, causing cracking.
-
Pollution & Dust: Conductive dust can create tracking paths across insulators.
Systematic Troubleshooting Methodology
Always prioritize safety. De-energize, lock out, tag out (LOTO), and verify absence of voltage before physical inspection where possible. For live diagnostics, use appropriate PPE and insulated tools rated for the voltage.
Step 1: Visual Inspection
A thorough visual check can reveal up to 80% of common problems.
-
Exterior: Look for cracks, breaks, or melting in connector housings and insulators. Check for corrosion stains or contaminant buildup.
-
Disconnect & Inspect (De-energized): Examine contact surfaces for pitting, arcing marks, discoloration, and contamination. Aluminum connections are particularly prone to grayish-white oxide powder.
-
Check Alignment: Ensure connectors mate smoothly without forcing. Misalignment causes point loading and damage.
-
Verify Seals: Inspect gaskets, O-rings, and seal faces for cuts, deformation, or deterioration.
Step 2: Thermal Inspection
-
Use a calibrated infrared (IR) thermal camera or spot pyrometer on loaded, energized equipment.
-
Compare temperatures: A problematic connection will be significantly hotter (ΔT > 10°C is a concern; ΔT > 40°C is critical) than similar connectors under the same load or the conductor itself.
-
Look for patterns: A single hot spot suggests a loose connection. Uniform heating across a connector may indicate undersizing.
Step 3: Electrical Testing
Perform these tests de-energized.
-
Contact Resistance Measurement: Use a low-resistance ohmmeter (micro-ohmmeter) or high-current DLRO. Compare values to manufacturer specs or similar connections. Values increasing over time indicate degradation. Note: Hand-held multimeters lack the precision for this critical measurement.
-
Insulation Resistance Test: Use a megohmmeter (megger) to measure resistance between conductors and ground. A low or declining reading indicates moisture ingress or insulation breakdown.
-
Torque Check: Use a calibrated torque wrench to verify fastener tightness against manufacturer specifications. Do not re-torque without inspection, as overtightening can damage threads or crack components.
Step 4: Mechanical Integrity Check
-
Wiggle Test: Gently check for movement in the connector body, cable termination, and fasteners.
-
Strain Relief Assessment: Ensure cables are properly clamped and no bending force is transmitted to the electrical terminations.
-
Latch/Lock Function: For plug-and-socket types, verify that locking mechanisms engage fully and securely.
Common Problems & Specific Remedies
Problem 1: Overheating at a Bolted Joint (e.g., Busbar, Lug)
-
Diagnosis: Visual discoloration, high temperature, possibly accompanied by odor.
-
Solution:
-
De-energize and isolate the circuit.
-
Disassemble the joint completely.
-
Clean all contact surfaces (busbar, lug, washers) with a non-abrasive cleaning pad or specific electrical contact cleaner. For aluminum, use a oxide-inhibiting compound. Never use standard abrasive sandpaper, which leaves insulating grit.
-
Apply a thin, uniform layer of approved electrical contact lubricant (e.g., nickel-based for aluminum, silver-based for high temps) to inhibit oxidation.
-
Reassemble with all correct hardware (often Belleville washers are specified to maintain tension under thermal cycling).
-
Torque to the manufacturer’s specification in a star pattern for flat surfaces. Use a torque wrench—”feel” is not reliable.
-
After returning to service, monitor temperature to verify the repair.
-
Problem 2: Intermittent Power in a Plug/Socket Connection
-
Diagnosis: System cycles on/off, or voltage drops erratically. May hear arcing.
-
Solution:
-
De-energize and disconnect.
-
Inspect pin/socket contacts for pitting, looseness in housing, or retraction. Check for bent pins.
-
Clean contacts with aerosol contact cleaner and lint-free swabs.
-
If contacts are pitted or damaged, replace the contact insert or the entire connector. Do not attempt to “file them smooth.”
-
Verify the connector keying and alignment. Ensure it is fully seated and the locking ring/lever is engaged.
-
Check cable terminations inside the connector backshell for looseness.
-
Problem 3: Corrosion on Terminals
-
Diagnosis: Green patina (copper sulfate) on copper, white powder (aluminum oxide) on aluminum.
-
Solution:
-
Disassemble.
-
Clean meticulously with a wire brush or contact cleaner designed for the material.
-
For aluminum, use a wire brush with stainless steel bristles and immediately apply an antioxidant compound.
-
Replace any corroded hardware (bolts, washers).
-
Reassemble with proper torque. Consider applying an environmental sealant or mastic around the finished connection to exclude moisture and air.
-
Problem 4: Cracked or Carbon-Tracked Insulator
-
Diagnosis: Visible cracking, carbonized (blackened) trails on the insulator surface.
-
Solution: REPLACE IMMEDIATELY. This is a severe safety risk. Do not attempt to clean or repair.
-
Identify the root cause: UV exposure? Mechanical impact? Pollution? Over-temperature?
-
Source a direct replacement or upgrade to a material better suited for the environment (e.g., silicone for wide temperature range, cycloaliphatic epoxy for tracking resistance).
-
Ensure the new insulator is properly installed and sealed.
-
Preventive Maintenance & Best Practices
Proactive care prevents most connector failures.
-
Establish a Schedule: Implement regular thermographic surveys (annual/quarterly) and periodic de-energized inspections (torque checks, visual).
-
Use the Right Tools: Calibrated torque wrenches, proper crimping tools, insulated hand tools, and cleaning materials.
-
Follow Manufacturer Specifications: Always adhere to specified torque values, contact preparation methods, and lubrication requirements. They are not arbitrary.
-
Employ Proper Connector Care: Use protective caps and covers when disconnected. Store in clean, dry conditions.
-
Address the Root Cause: Don’t just clean a corroded connector—install drip loops, improve enclosure sealing, or apply protective coatings to prevent recurrence.
-
Document Everything: Keep records of inspections, thermal images, and repairs to track degradation over time and predict future failures.
Conclusion
Power distribution connectors are critical points of vulnerability that demand attention. A systematic approach to troubleshooting—moving from visual and thermal inspection to precise electrical measurement—allows for the accurate diagnosis of common issues like overheating, corrosion, and mechanical failure. By understanding the underlying failure modes, technicians can move beyond simple fixes to implement lasting solutions. Ultimately, combining reactive troubleshooting with a robust schedule of preventive maintenance—adhering to manufacturer specifications, using correct tools, and documenting conditions—is the most effective strategy for ensuring the safety, efficiency, and longevity of any electrical power distribution system. Remember, the goal is not just to fix problems, but to prevent them from occurring in the first place.
For more about the common power distribution connector troubleshooting guide, you can pay a visit to Gvtong at https://www.gvtong.net/ for more info.
-
-combined-connector-socket-2")
GE Series – 60-core (34+26) combined connector-socket
-

Metal connector-3.6mm-2 core
-

Industrial control exhaust
-

Low voltage connector-20PIN socket + plug
-

Automotive FAKRA Dual Connector For Wireless Antenna, GPS, Satellite Broadcasting, RF Bluetooth, IVI Information
-
--3")
High voltage connector-2000 series-(2 core)
-

GE Series-32-core rectangular connector
-

GE Series-33-core Signal Connector