Connector manufacturer
Connector manufacturer
How to Install and Maintain Low Pressure Automotive Connectors
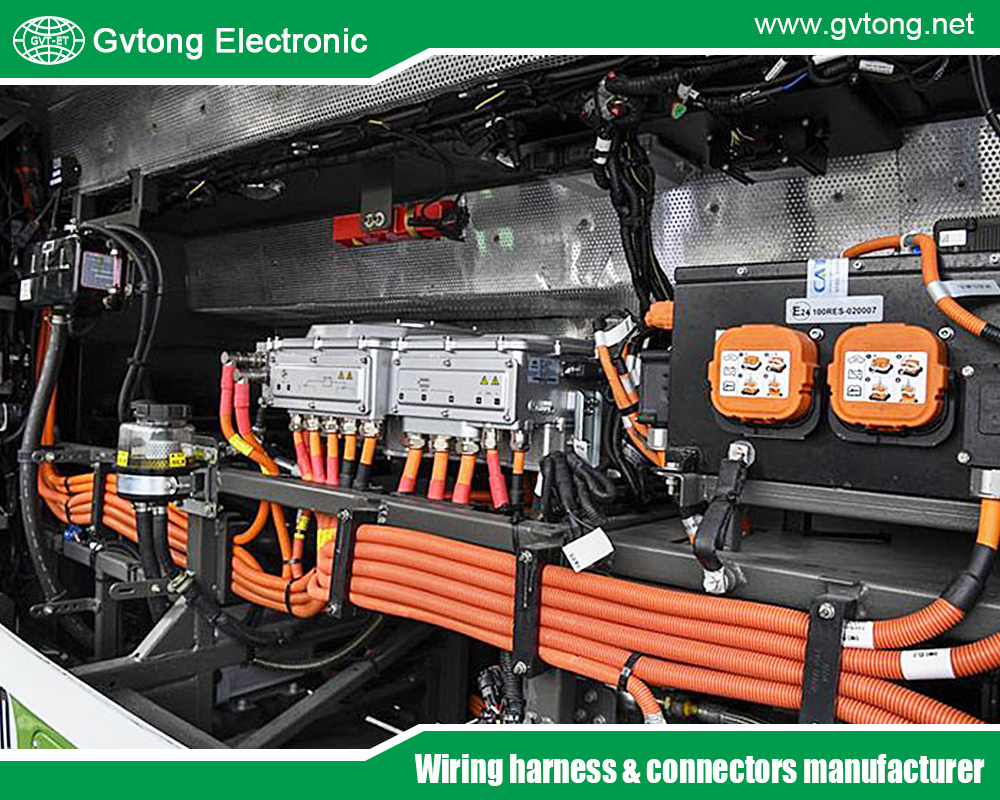
In the intricate ecosystem of a modern vehicle, the unsung heroes are often the myriad of connections that snake through its frame. While high-voltage battery packs and turbocharged engines command attention, the networks of low-pressure fluid and pneumatic lines are the vehicle’s circulatory and respiratory systems. At the heart of these systems lie low-pressure automotive connectors—components whose reliability is paramount for the function of fuel lines (post high-pressure pump), evaporative emission systems (EVAP), brake vacuum lines, transmission cooling, and various sensor feeds.
A failure here is rarely catastrophic in an instant but can lead to persistent check engine lights, poor fuel economy, degraded braking performance, or elusive drivability issues. This guide provides a detailed, technical walkthrough for the proper installation, inspection, and maintenance of these critical components, ensuring system integrity and vehicle longevity.
Part 1: Understanding the Connector Ecosystem
Before handling a low pressure automotive connector, understanding its design intent is crucial. Low-pressure connectors in automotive applications are primarily designed for fluids (fuel, oil, coolant, refrigerant) and vapors (vacuum, EVAP). They typically operate in ranges from a deep vacuum (-30 inHg) to pressures under 150 psi, with many systems (like vacuum and EVAP) seeing less than 10 psi.
Common Types & Mechanisms:
- Quick-Connect/Push-to-Connect Fittings: The most prevalent type. They use a series of internal locking fingers or a collet that engage with a barb or ridge on the nipple. A spring-loaded sleeve, when pulled back, releases the locking mechanism for disconnection. They often include an integral O-ring for sealing.
- Barbed Fittings with Hose Clamps: A simple, cost-effective design where a barbed nipple is inserted into a hose and secured with a circumferential clamp (spring, screw, or crimp). Retention relies on clamp force and the hose’s elasticity.
- Compression Fittings: Used for hard lines or semi-rigid tubing. A nut and ferrule(s) are compressed onto the tube as the nut is tightened, forming a metal-to-metal seal against the fitting body.
- Bayonet (Twist-Lock) Connectors: Involve aligning tabs and twisting to lock, often with an audible click. Common in some coolant and air conditioning service ports.
Key Components: Regardless of type, most connectors consist of:
- Body/Housing: The main structural component.
- Sealing Element: Almost always an O-ring (from materials like Nitrile (NBR), Fluorocarbon (FKM/Viton), or EPDM, chosen for fluid compatibility).
- Retention Mechanism: Locking fingers, collets, clips, or ferrules.
- Release Mechanism: Sleeve, tabs, or a special tool depressor.
- Tube/Hose End: The interface for the fluid conduit.
Part 2: The Installation Protocol – Precision is Key
Improper installation is the leading cause of connector failure. Follow this procedural checklist.
Step 1: Preparation & Inspection (The “Dry Fit”)
- Cleanliness: Work in a clean area. Dirt, debris, and particulates are the enemies of O-rings and sealing surfaces. Use lint-free cloths and approved cleaners (isopropyl alcohol, brake cleaner) to wipe down the connector body and the nipple/pipe it will mate with.
- Component Inspection:
- O-Ring: Check for the correct size and material. It should be supple, free of nicks, cuts, cracks, or permanent deformation. Lightly lubricate the O-ring with the fluid it will carry (a drop of clean engine oil for oil lines, silicone grease for vacuum lines, or a dedicated O-ring lubricant). This drastically reduces the risk of rolling, pinching, or tearing during assembly.
- Connector Body: Inspect for cracks, damaged locking fingers, or a worn release sleeve. Ensure the retention mechanism moves freely.
- Tubing/Hose: The end must be cut square and de-burred. For hose, ensure the interior is clean and the exterior is free of cracks or excessive swelling.
Step 2: The Connection Process
- Alignment: Align the hose or tube perfectly straight with the connector. Angular stress induces premature wear and potential leaks.
- Engagement: For quick-connects, firmly push the hose/pipe directly into the connector. You should feel a distinct, solid “click” or tactile feedback as the locking fingers engage over the barb/ridge. Never twist or screw the connector on during insertion.
- Tug Test: After the click, perform a positive pull test on the hose/line (not the connector body). It should not dislodge. For barbed fittings, ensure the hose is fully seated past all barbs before clamping.
- Clamp Application (if applicable): For hose clamps, position the clamp 1/16″ to 1/8″ from the end of the hose. Tighten screw clamps evenly until the band is uniformly compressed. Avoid over-tightening, which can cut the hose.
Step 3: Post-Installation Verification
- Visual Confirmation: For many quick-connects, you can see the locking fingers or the hose end through inspection windows. Verify the hose is fully seated.
- System Operational Test: After the entire system is reassembled, perform a low-pressure test if possible (e.g., with a smoke machine for vacuum/EVAP systems). For fluid systems, start the engine and run at idle, visually inspecting for immediate leaks. Monitor for several minutes as temperatures and pressures normalize.
Part 3: Disconnection – The Art of Non-Destruction
Forcing a connector apart guarantees damage.
- Identify the Release Mechanism: Is it a pull-back sleeve, push tabs, or a tool-depressed ring?
- Depress/Retract Fully: For sleeve-types, pull the sleeve back fully against its spring pressure. For tab-types, depress both tabs simultaneously. You may need a specialized pair of release “keys” or picks for certain models.
- Pull Apart: While maintaining the release action, pull the hose/line straight out. If it does not come freely, do not increase force. Re-check that the release mechanism is fully engaged, as locking fingers can bind.
- Immediate Sealing: Once disconnected, promptly cap or plug both open ends to prevent contamination.
Part 4: Proactive Maintenance & Troubleshooting
Maintenance is not periodic replacement; it’s systematic inspection.
Scheduled Inspection Intervals: Incorporate connector inspection into major service intervals (e.g., 30k, 60k, 90k miles). Focus on areas with high heat, vibration, or exposure to elements.
Inspection Checklist:
- Visual: Look for obvious cracks, brittleness, or oil/swelling on plastic connectors (indicating fluid incompatibility).
- Leaks: Look for wetness, drips, or accumulated dirt/dust (which often sticks to seeping fluids). A smoke machine is an invaluable tool for pinpointing vacuum/EVAP leaks at connectors.
- Physical Integrity: Gently attempt to rotate or wiggle the connected hose. There should be no movement at the sealing interface. Any play indicates worn locking fingers or a failed O-ring.
- O-Ring Specifics: During disassembly for other repairs, always inspect the O-ring. Replace it as a matter of course if the connector is more than 5-7 years old, regardless of appearance—elasticity degrades over time.
Common Failure Modes & Solutions:
- Weeping/Slow Leak: 90% of the time, this is a failed or damaged O-ring. Replace with an OEM-spec or high-quality equivalent. Ensure the O-ring groove is clean.
- Connector “Pops Off” Under Pressure: Worn or broken internal locking fingers. Do not attempt repair. The entire connector must be replaced.
- Hose Rotated/Frozen on Barb: The hose has become chemically bonded or severely aged. Cut the hose off, replace both the damaged hose section and the connector, as the barb is likely damaged.
- Cracked Connector Body: Direct replacement required. Investigate root cause: over-tightening, impact damage, or exposure to incompatible chemicals.
Part 5: Best Practices & Industry Wisdom
- OEM vs. Aftermarket: When replacing, OEM connectors offer guaranteed material compatibility and fit. Quality aftermarket parts from reputable brands (like Continental, Gates, Dorman) can be excellent, but avoid the cheapest, no-name alternatives.
- The “Replace Don’t Reuse” Debate: While many quick-connects are designed for multiple uses, it is often false economy to reuse them. The cost of a new connector with a fresh O-ring is negligible compared to the labor of diagnosing a comeback leak. Always replace the O-ring. Strongly consider replacing the connector if it’s part of a critical system or has high mileage.
- Tool Investment: Acquire the correct release tools. A universal quick-connect release tool set is inexpensive and prevents broken nails, damaged connectors, and frustration.
- Fluid Compatibility: Never assume. An O-ring suitable for gasoline (FKM) may degrade rapidly if used in a transmission oil cooler line. Always verify material specifications.
Conclusion
Installing and maintaining low-pressure automotive connectors is not a matter of brute force or afterthought. It is a discipline of precision, understanding, and proactive care. Each successful “click” represents a sealed interface that will withstand millions of thermal cycles, constant vibration, and chemical exposure.
By adhering to the principles outlined—meticulous preparation, understanding the mechanism, performing positive verification, and conducting systematic inspections—you elevate these humble components from potential failure points to pillars of system reliability. In the complex symphony of the automobile, ensuring every connector is perfectly seated is how you guarantee the music plays on, mile after trouble-free mile. Remember, in modern vehicle diagnostics, the time you spend mastering these “simple” connections will be repaid many times over in problems you never have to solve.
For more about how to install and maintain low pressure automotive connectors, you can pay a visit to Gvtong at https://www.gvtong.net/ for more info.
-

Automotive FAKRA Dual Connector For Wireless Antenna, GPS, Satellite Broadcasting, RF Bluetooth, IVI Information
-

Low voltage connector-48 core socket + plug
-
-socket-2")
Combination connector-60 core (34+26) socket
-

GH630 Series-2-core plastic high voltage connector
-

GA Series-11-pin Aviation Connector
-

Single core 10MM
-

GH Series-HV6-2-core Plastic High Voltage Connector
-

Pin header and female header