Blogs & News
We are focus on automotive wiring harness & connectors technology.
How to Replace Automotive Connectors
- Gvtong Electronic
- ADAS sensor connectors, Anti-vibration automotive connectors, automotive antenna connector, automotive coaxial connector, automotive connectors, automotive connectors and terminals, automotive connectors factory, automotive connectors hotsale, automotive connectors manufacturer, automotive connectors supplier, Automotive power distribution connector, Automotive shielded connectors, Battery management system (BMS) connectors, Blind-mate automotive connectors, Cost-effective automotive connectors, Custom Low Voltage Vehicle Automotive Connectors, EV charging connectors, Fuel cell connectors, High-speed data connectors, In-cabin infotainment connectors, Lightweight automotive connectors, Low-contact resistance connectors, Modular automotive connectors, OEM/ODM for Automotive Connectors, Oil-resistant automotive connectors, Pre-charge/discharge connectors, V2X communication connectors
- No Comments
How to Replace Automotive Connectors
Automotive connectors are critical components in a vehicle’s electrical system, ensuring reliable communication between various electronic components, such as sensors, wiring harnesses, and control modules. Over time, connectors can become damaged due to corrosion, wear, heat, or improper handling, leading to electrical issues like intermittent connections, power loss, or complete system failures. Replacing automotive connectors is a valuable skill for vehicle owners, DIY enthusiasts, and professional mechanics. This guide provides a step-by-step approach to replacing automotive connectors, covering tools, techniques, safety precautions, and troubleshooting tips to ensure a successful repair.
Understanding Automotive Connectors
Automotive connectors are specialized plugs and sockets that link electrical circuits in a vehicle. They come in various types, including multi-pin connectors, weatherproof connectors, and blade or spade connectors, each designed for specific applications like power delivery, signal transmission, or data communication. Common issues with connectors include:
- Corrosion: Exposure to moisture or road salt can corrode metal contacts.
- Physical Damage: Cracked housings or bent pins from mishandling.
- Overheating: High current loads can melt or deform connectors.
- Loose Connections: Vibration or wear can cause poor contact.
Replacing a faulty connector involves identifying the issue, sourcing a compatible replacement, and installing it correctly to restore functionality. The process requires precision, the right tools, and an understanding of automotive electrical systems.
Tools and Materials Needed
Before starting, gather the following tools and materials to ensure a smooth replacement process:
- Tools:
- Wire cutters and strippers
- Crimping tool (ratcheting type for precision)
- Small flathead and Phillips screwdrivers
- Needle-nose pliers
- Soldering iron and solder (optional, for specific repairs)
- Heat gun or lighter (for heat-shrink tubing)
- Multimeter (for testing continuity and voltage)
- Terminal release tool or picks (for depinning connectors)
- Electrical contact cleaner
- Anti-corrosion spray or dielectric grease
2. Materials:
- Replacement connector (matching the original in pin count, type, and locking mechanism)
- Compatible terminals (male/female pins)
- Electrical tape or heat-shrink tubing
- Replacement wire (same gauge as the original)
- Cable ties or loom tubing for organization
3. Safety Equipment:
- Insulated gloves
- Safety glasses
- Fire extinguisher (for soldering or heat-related tasks)
Ensure all tools and materials are of high quality, as automotive environments demand durability and reliability.
Step-by-Step Guide to Replacing Automotive Connectors
Step 1: Safety First
Before working on any automotive electrical system, prioritize safety to avoid injury or damage:
- Disconnect the Battery: Always disconnect the negative terminal of the vehicle’s battery to prevent electrical shock or short circuits. Use a wrench to loosen the terminal and secure it away from the battery post.
- Work in a Safe Environment: Park the vehicle on a flat surface, engage the parking brake, and ensure the area is well-ventilated and free of flammable materials.
- Wear Protective Gear: Use insulated gloves and safety glasses to protect against accidental shocks or debris.
Step 2: Identify the Faulty Connector
Diagnosing the problem is critical to confirm that the connector needs replacement. Follow these steps:
- Inspect Visually: Look for signs of damage, such as corrosion, melted plastic, or broken locking tabs. Check for loose or disconnected wires.
- Test with a Multimeter: Use a multimeter to check for continuity across the connector’s pins. Set the multimeter to continuity mode and touch the probes to the corresponding pins on both sides of the connector. No continuity indicates a broken connection.
- Check Voltage: If the circuit is powered, set the multimeter to DC voltage and test for proper voltage across the connector. A significant drop suggests a faulty connector.
- Consult Wiring Diagrams: Refer to the vehicle’s service manual or wiring diagram to identify the connector’s role and specifications. This helps ensure you source the correct replacement.
Step 3: Source the Replacement Connector
Finding the right connector is crucial for compatibility and reliability:
- Match Specifications: Identify the connector type (e.g., Deutsch, Weather Pack, Mini-Fit), pin count, and locking mechanism. Check the vehicle’s manual or consult an auto parts supplier.
- OEM vs. Aftermarket: Original Equipment Manufacturer (OEM) connectors ensure perfect compatibility but are pricier. High-quality aftermarket connectors from reputable brands can be a cost-effective alternative.
- Purchase a Kit: Many connectors come in kits that include the housing, terminals, and seals. Ensure the kit matches the wire gauge and environmental requirements (e.g., waterproofing for exposed areas).
- Verify Terminal Type: Ensure the replacement terminals match the original (e.g., male or female, crimp or solder type).
You can source connectors from auto parts stores, online retailers, or salvage yards for older vehicles.
Step 4: Remove the Faulty Connector
Carefully remove the damaged connector to avoid damaging surrounding components:
- Disconnect the Connector: Press the locking tab or release mechanism to separate the connector from its mating half. Avoid excessive force to prevent breaking the locking mechanism.
- Depin the Wires: Most connectors have removable terminals. Use a terminal release tool or a small pick to depress the locking tab inside the connector housing and gently pull the wire out. Note the position of each wire (take a photo or label them) to ensure correct reassembly.
- Cut Damaged Wires (if Necessary): If the wire near the connector is damaged (e.g., frayed or corroded), cut back to clean, undamaged wire using wire cutters. Strip about 1/4 inch of insulation from the end using a wire stripper.
Step 5: Prepare the Replacement Connector
Proper preparation ensures a secure and reliable connection:
- Crimp New Terminals: Attach new terminals to the wire ends using a crimping tool. Follow these steps:
- Insert the stripped wire into the terminal’s crimp barrel.
- Use a ratcheting crimping tool to compress the terminal securely onto the wire. Ensure the crimp is tight and the wire cannot be pulled out.
- For added reliability, some terminals allow soldering after crimping. Apply solder sparingly to avoid excess buildup.
3. Insert Terminals into the Connector: Slide each crimped terminal into the appropriate slot in the new connector housing until it clicks into place. Refer to your notes or photo to ensure correct pin assignments.
4. Apply Seals (if Applicable): For weatherproof connectors, install rubber seals or grommets to protect against moisture ingress.
Step 6: Install the New Connector
With the new connector prepared, install it into the vehicle’s electrical system:
- Connect to the Mating Half: Plug the new connector into its corresponding socket or plug. Ensure it locks securely with a click or snap.
- Secure the Wiring: Use cable ties or loom tubing to organize and secure the wires, preventing strain on the connector or exposure to moving parts.
- Apply Dielectric Grease: For connectors exposed to moisture, apply dielectric grease to the terminals to prevent corrosion.
Step 7: Test the Repair
Before finalizing the repair, verify that the new connector functions correctly:
- Reconnect the Battery: Reattach the negative battery terminal.
- Test Continuity and Voltage: Use a multimeter to confirm continuity across the connector and proper voltage in the circuit.
- Functional Test: Turn on the vehicle or activate the affected system (e.g., lights, sensors) to ensure it operates as expected.
- Inspect for Issues: Check for loose connections, overheating, or error codes using an OBD-II scanner if applicable.
Step 8: Finalize and Clean Up
Once the repair is confirmed successful:
- Secure All Components: Double-check that the connector, wires, and battery terminal are properly secured.
- Clean the Work Area: Remove any debris, tools, or materials from the vehicle.
- Document the Repair: Note the connector type, part number, and any observations for future reference.
Common Challenges and Troubleshooting Tips
Replacing automotive connectors can present challenges. Here are some common issues and solutions:
- Incorrect Pin Assignment: If the system doesn’t work after replacement, verify that the wires are inserted into the correct slots. Refer to wiring diagrams or your documentation.
- Poor Crimps: A loose crimp can cause intermittent connections. Re-crimp or replace the terminal, ensuring a firm connection.
- Corrosion Recurrence: If corrosion was the original issue, inspect nearby components for moisture sources and address them (e.g., sealing gaps or replacing damaged weatherproofing).
- Mismatched Connectors: If the new connector doesn’t fit, double-check the part number and specifications. Consult the vehicle’s manual or a professional.
- Complex Systems: For advanced systems (e.g., CAN bus or ECU connectors), improper replacement can trigger error codes. If unsure, consult a professional mechanic or electrician.
Safety and Maintenance Tips
To prolong the life of automotive connectors and prevent future issues:
- Use Dielectric Grease: Apply grease to all connectors in exposed areas to protect against moisture and corrosion.
- Inspect Regularly: Check connectors during routine maintenance for signs of wear or damage.
- Avoid Overloading Circuits: Ensure the electrical load doesn’t exceed the connector’s rating to prevent overheating.
- Keep Connectors Clean: Use electrical contact cleaner to remove dirt or corrosion during maintenance.
When to Seek Professional Help
While replacing automotive connectors is manageable for many DIYers, certain situations warrant professional assistance:
- Complex Wiring Harnesses: Systems like airbags, ABS, or ECU wiring require specialized knowledge to avoid costly damage.
- Limited Experience: If you’re unfamiliar with electrical systems or lack the right tools, a professional can ensure a safe and reliable repair.
- Warranty Concerns: For vehicles under warranty, consult the manufacturer or a certified technician to avoid voiding coverage.
Conclusion
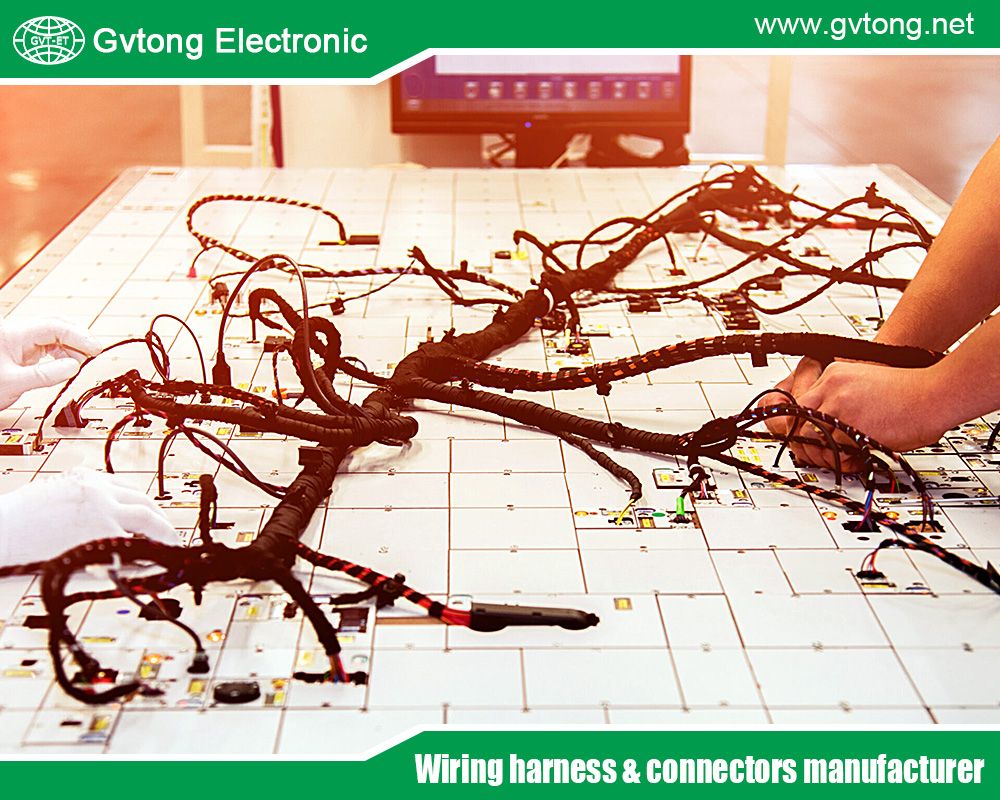
Replacing automotive connectors is a practical skill that can save time and money while ensuring your vehicle’s electrical systems remain reliable. By following the steps outlined—prioritizing safety, sourcing the correct parts, and testing thoroughly—you can address connector issues effectively. Whether you’re fixing a corroded headlight connector or upgrading a wiring harness, attention to detail and the right tools are key. Regular maintenance and proper installation techniques will keep your vehicle’s electrical system in top shape, minimizing future repairs and ensuring safe operation on the road.
For more about how to replace automotive connectors, you can pay a visit to Gvtong at https://www.gvtong.net/ for more info.
Recent Posts
How to Diagnose and Repair Automotive Signal Connector Failures
How to Install and Maintain Low Pressure Automotive Connectors
Heat Shrink vs. Crimp: Choosing the Right 12V Car Wire Connector
Best 12V Automotive Wire Connectors for Reliable Electrical Connections
Tags
Recommended Products
-
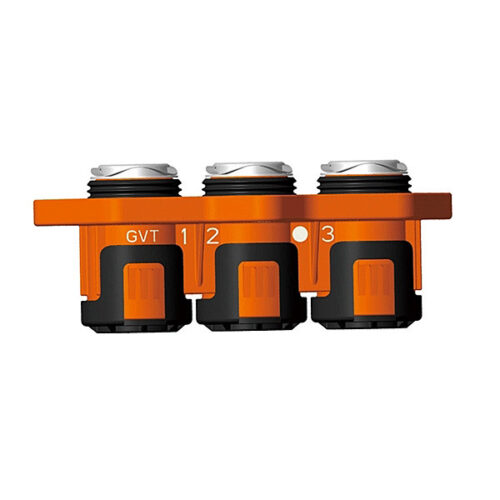
GIPT three-core wiring connector
-
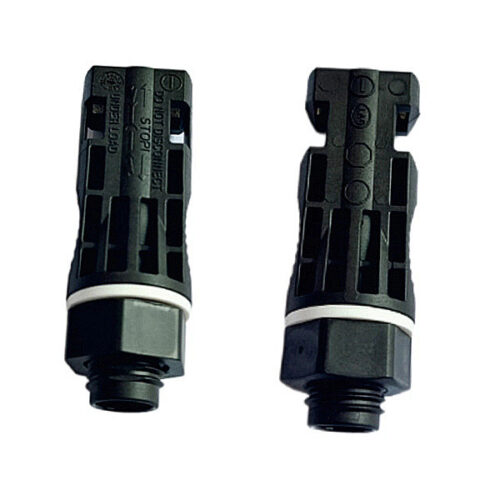
Photovoltaic Connector-Board Socket
-
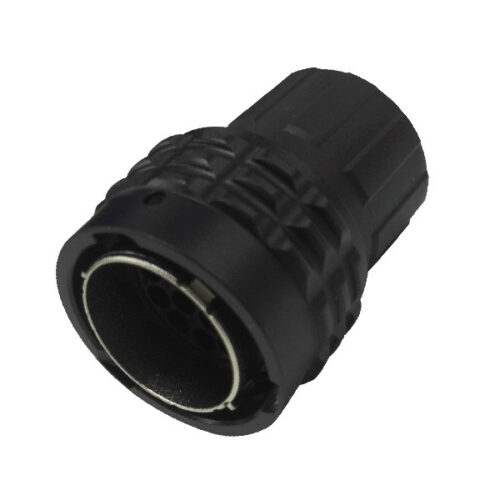
GR Series-12-core 14# circular signal connector
-
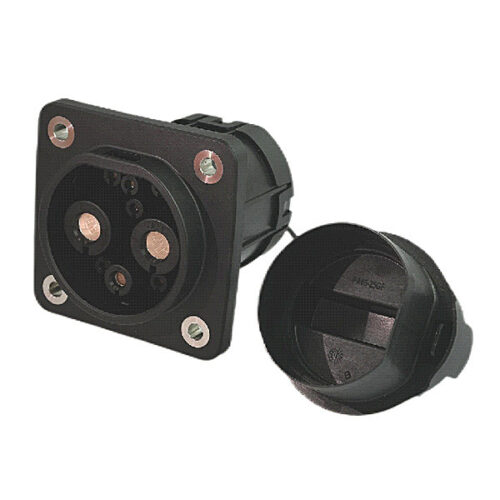
DC charging socket
-
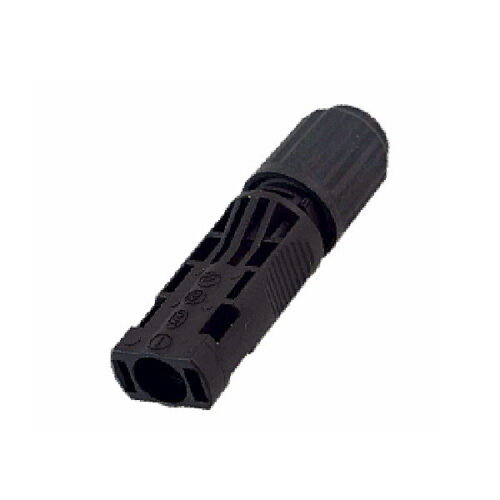
Photovoltaic connector – Wire end socket
-
GH Series-DCDC Through-the-Wall Terminal
-
GE Series-8-core three-row signal connector
-
Automotive FAKRA Single Head Connector, Automotive Standard FAKRA Connectors
